Creating an AI Chatbot using OpenAI Assistants API and Flowise
AI chatbots are becoming very popular these days. If you are running a business and have an online presence like a website or a mobile app, you can create an AI chatbot to engage the visitors.

AI chatbots are becoming very popular these days. If you are running a business and have an online presence like a website or a mobile app, you can create an AI chatbot to engage the visitors. These AI chatbots are not like traditional scripted chatbots. They can be trained on your own private data and can provide near to accurate information to your website visitors and potentially convert them into clients. They are not just limited to providing the information to visitors but are capable of engaging them and can also collect some very useful information, that can be used by businesses to generate leads.
In November 2023 OpenAI announced OpenAI Assistants API along-with new GPT-4 Turbo model having enhanced capabilities then their existing models.
Open AI Assistants API
OpenAI's Assistants API let's developers build agent-like experiences within their own applications. An assistant is a purpose-built AI that has specific instructions. They can leverage extra knowledge, and can call different models and tools to perform tasks. I am not gonna dive deep into Assistants API today instead we will try to create an AI Chatbot using Assistants API and Flowise. You can read more about Assistant's API here
Flowise AI
If you are a developer you can create your own very customized AI apps using Assistants API. They have a very easy to understand documentation available. But it takes time and what if you don't know how to code. Well you are in luck. Flowise is an open source tool, which helps you build AI apps with zero to little coding knowledge.
As per their documentation "Flowise is a low-code/no-code drag & drop tool with the aim to make it easy for people to visualize and build LLM apps." It doesn't only provide extensive integration with OpenAI but has a lot other cool features as well. Click here to learn more about Flowise.
Creating A Chatbot
Let's dive into creating a chatbot using Assistants API and Flowise.
First thing we need to do is to create an API Key at OpenAI platform. So if you haven't signed up at OpenAI, signup now and then navigate to https://platform.openai.com/api-keys to generate an API key.
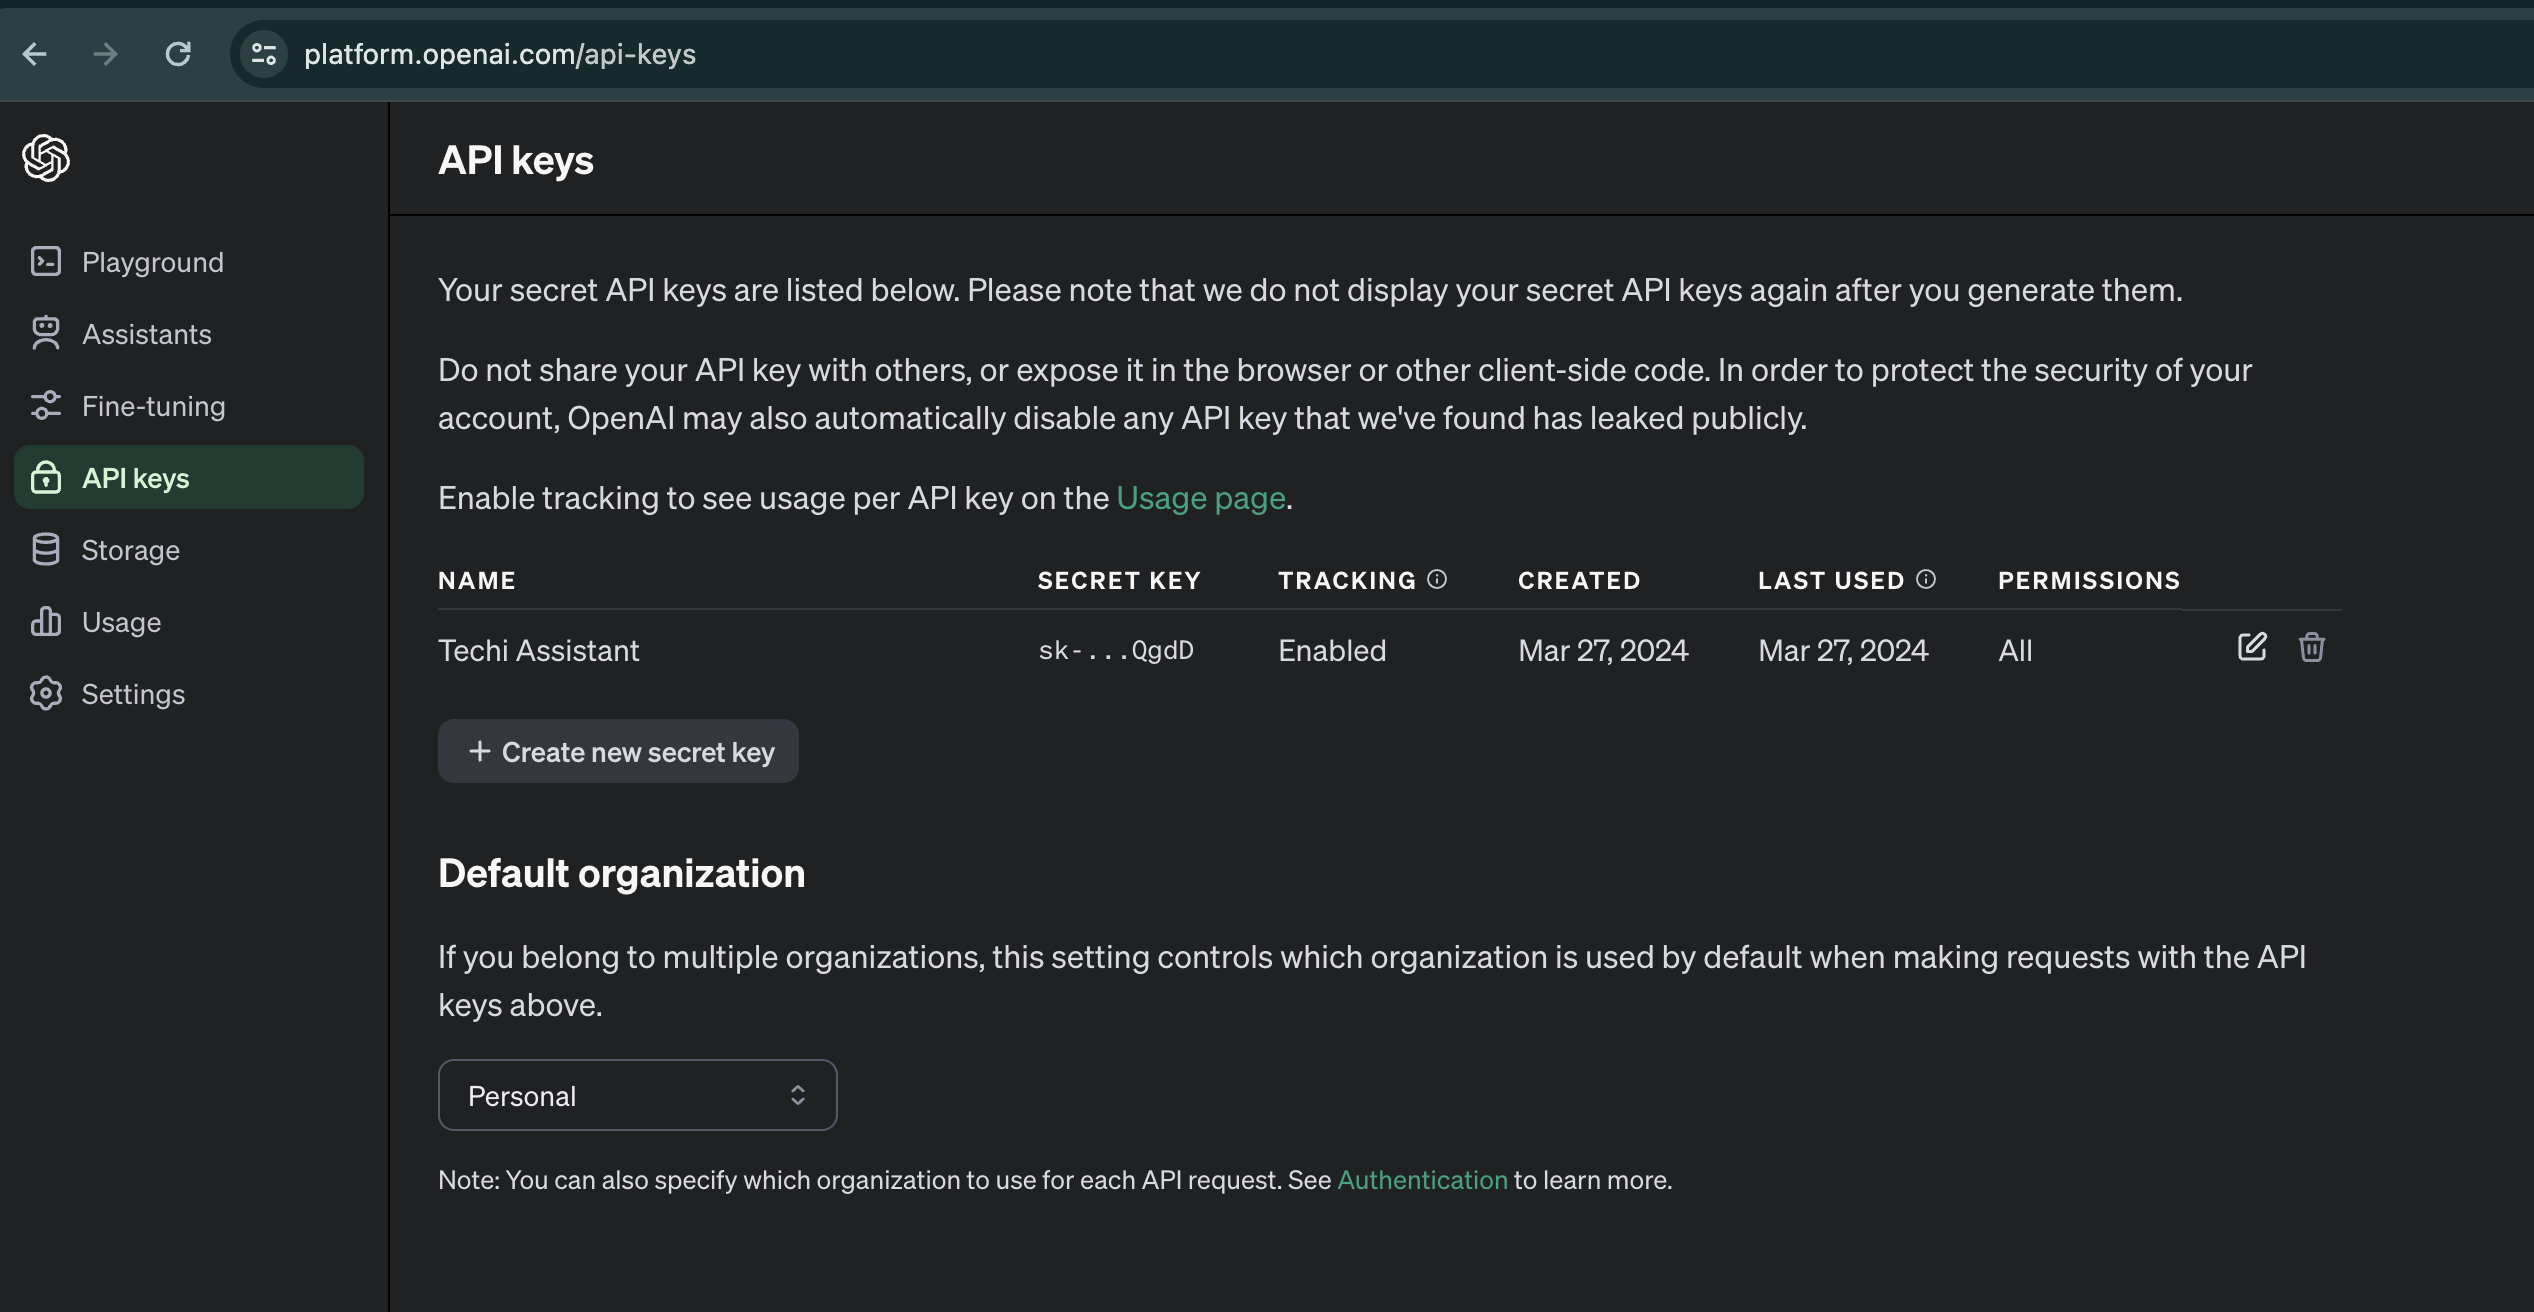
Here we can create an Assistant too as you can see Assistants menu item in the screenshot above, but same can be done via FlowsAI interface after setting up the OpenAI API key. We are aiming to create Assistant from FlowsAI interface.
Click on "Create new secret key" and copy the key and keep it safe somewhere for now.
Now let's move on to Flowise website to create the chatbot. Click here to navigate to documentation for Flowise.
Remember Flowise is not limited to chatbots only, you can build a customized LLM ochestration flow, a chatbot, an agent with all the integrations available in Flowise.
You can get a running instance of Flowise on any of the cloud providers mentioned here in matter of minutes, but for the purpose of this guide I will setup a local instance only via NPM.
Make sure you have latest NodeJS installed on your machine.
Run following command in terminal
npm install -g flowise
Once installed you can start Flowise server
npx flowise start
That's it. A local instance of Flowise is ready to play with 😃
Navigate to http://localhost:3000/ and you will see following interface.
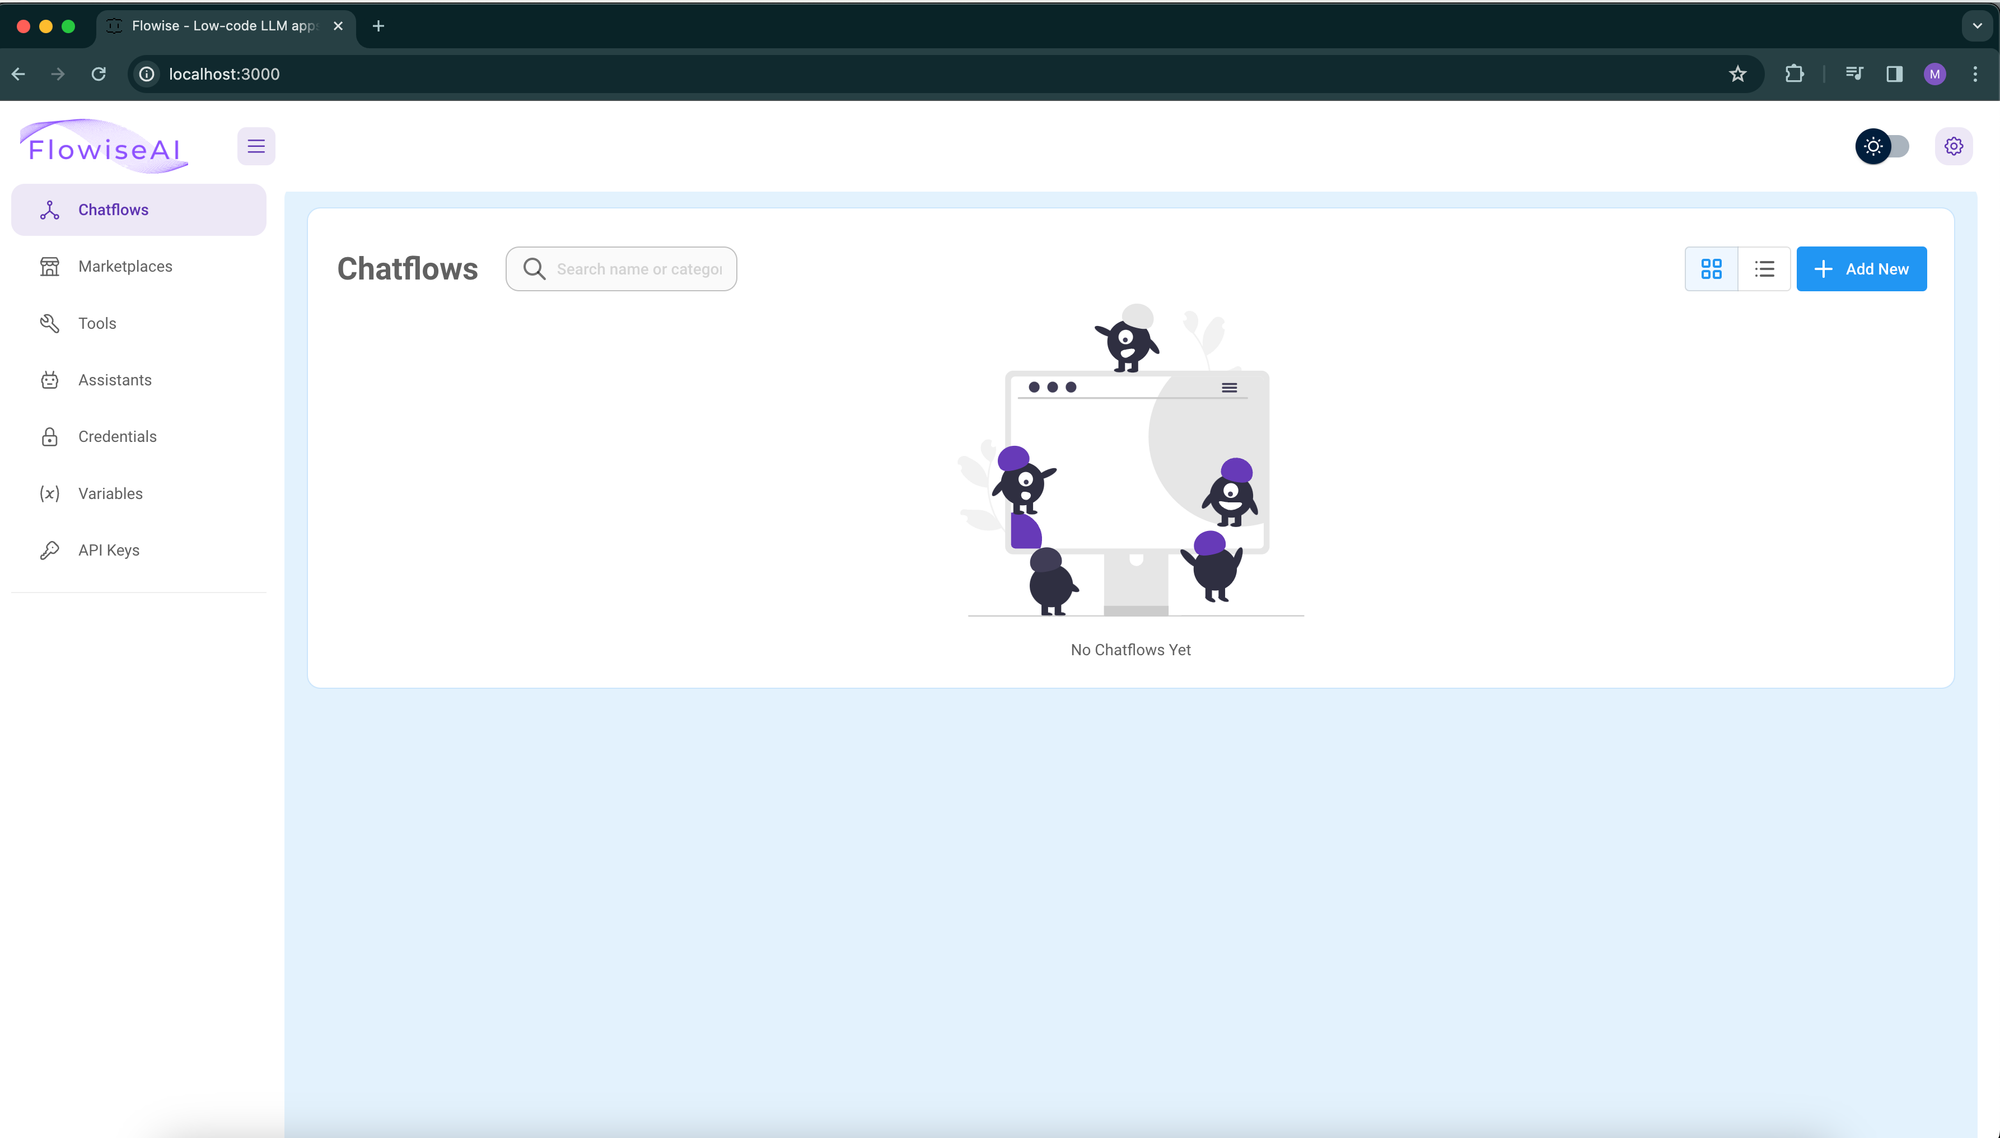
Note: In order to use Flowise in your production web apps, you will need a hosted instance.
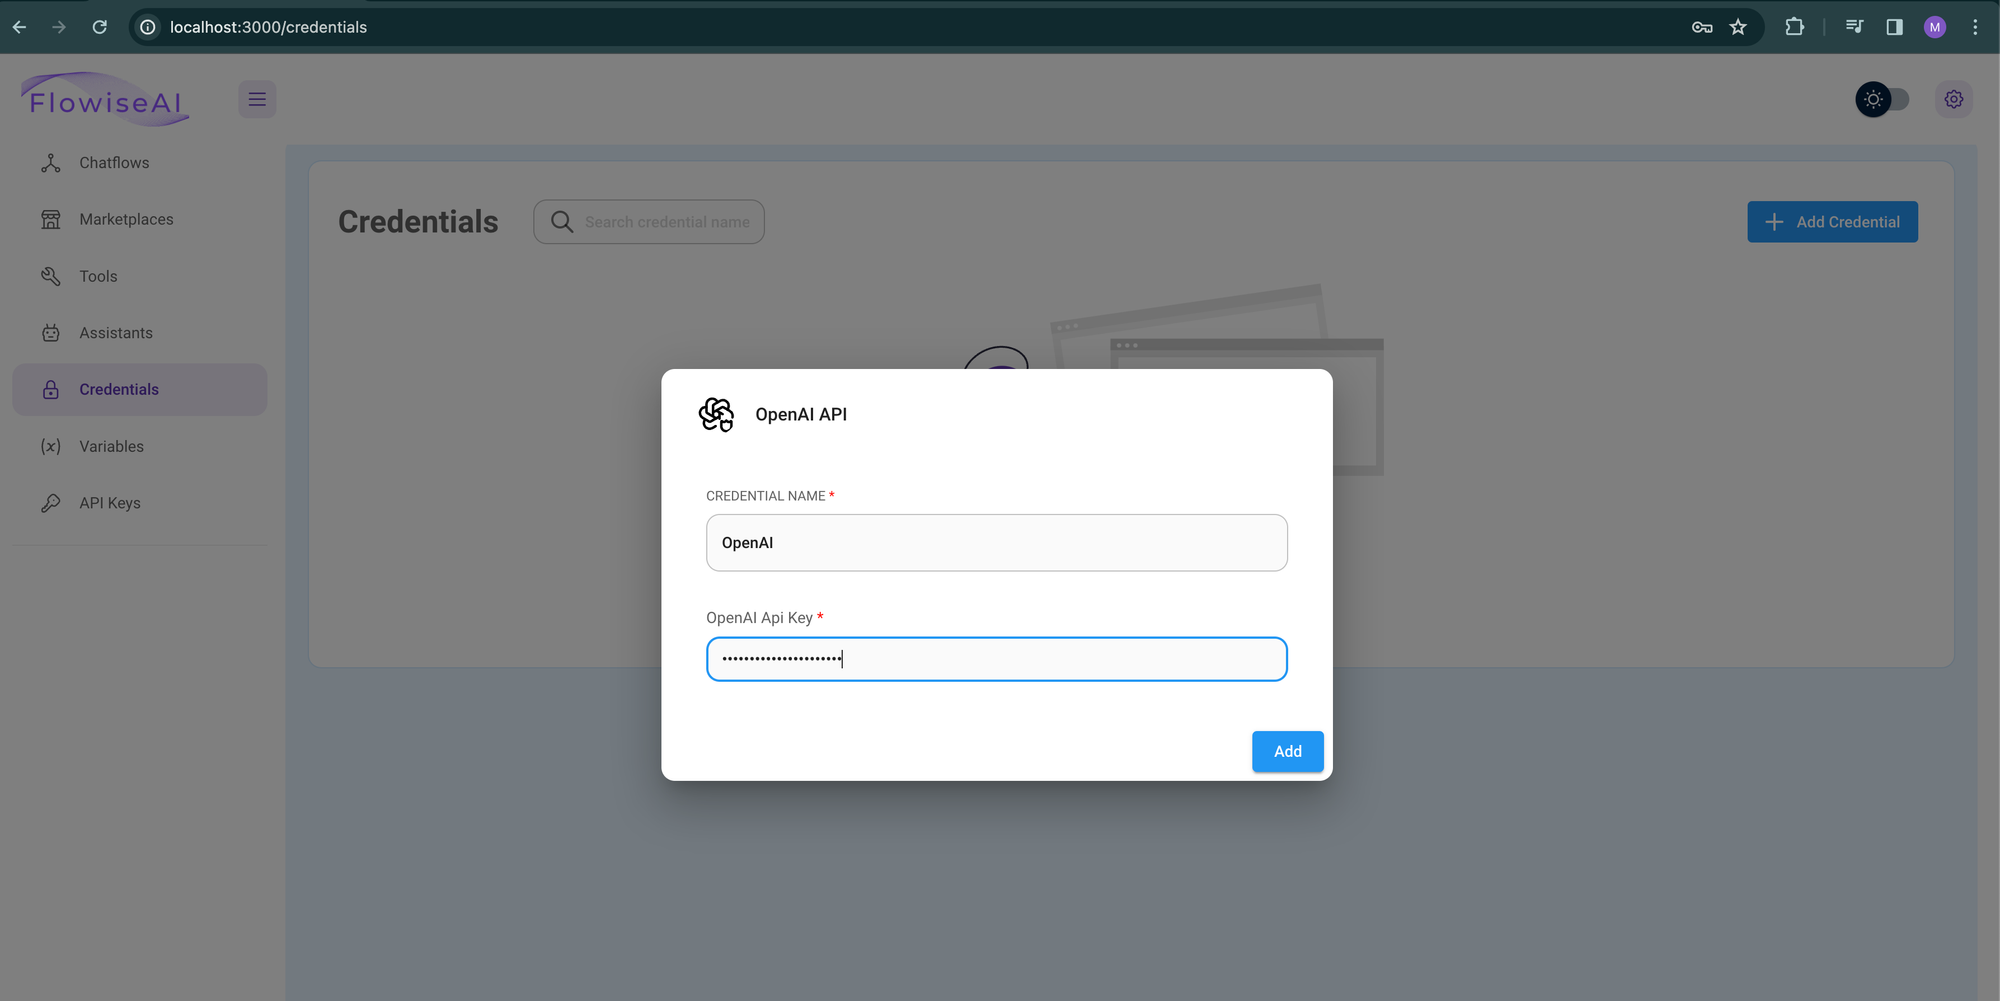
First thing we need to do is to set the credentials. In our case we have OpenAI API key that we generated in previous step. Click on "Credentials" to go to credentials screen, then click "Add Credential" button. A popup screen will appear with a list of providers. Search for OpenAI using search box and click on it.
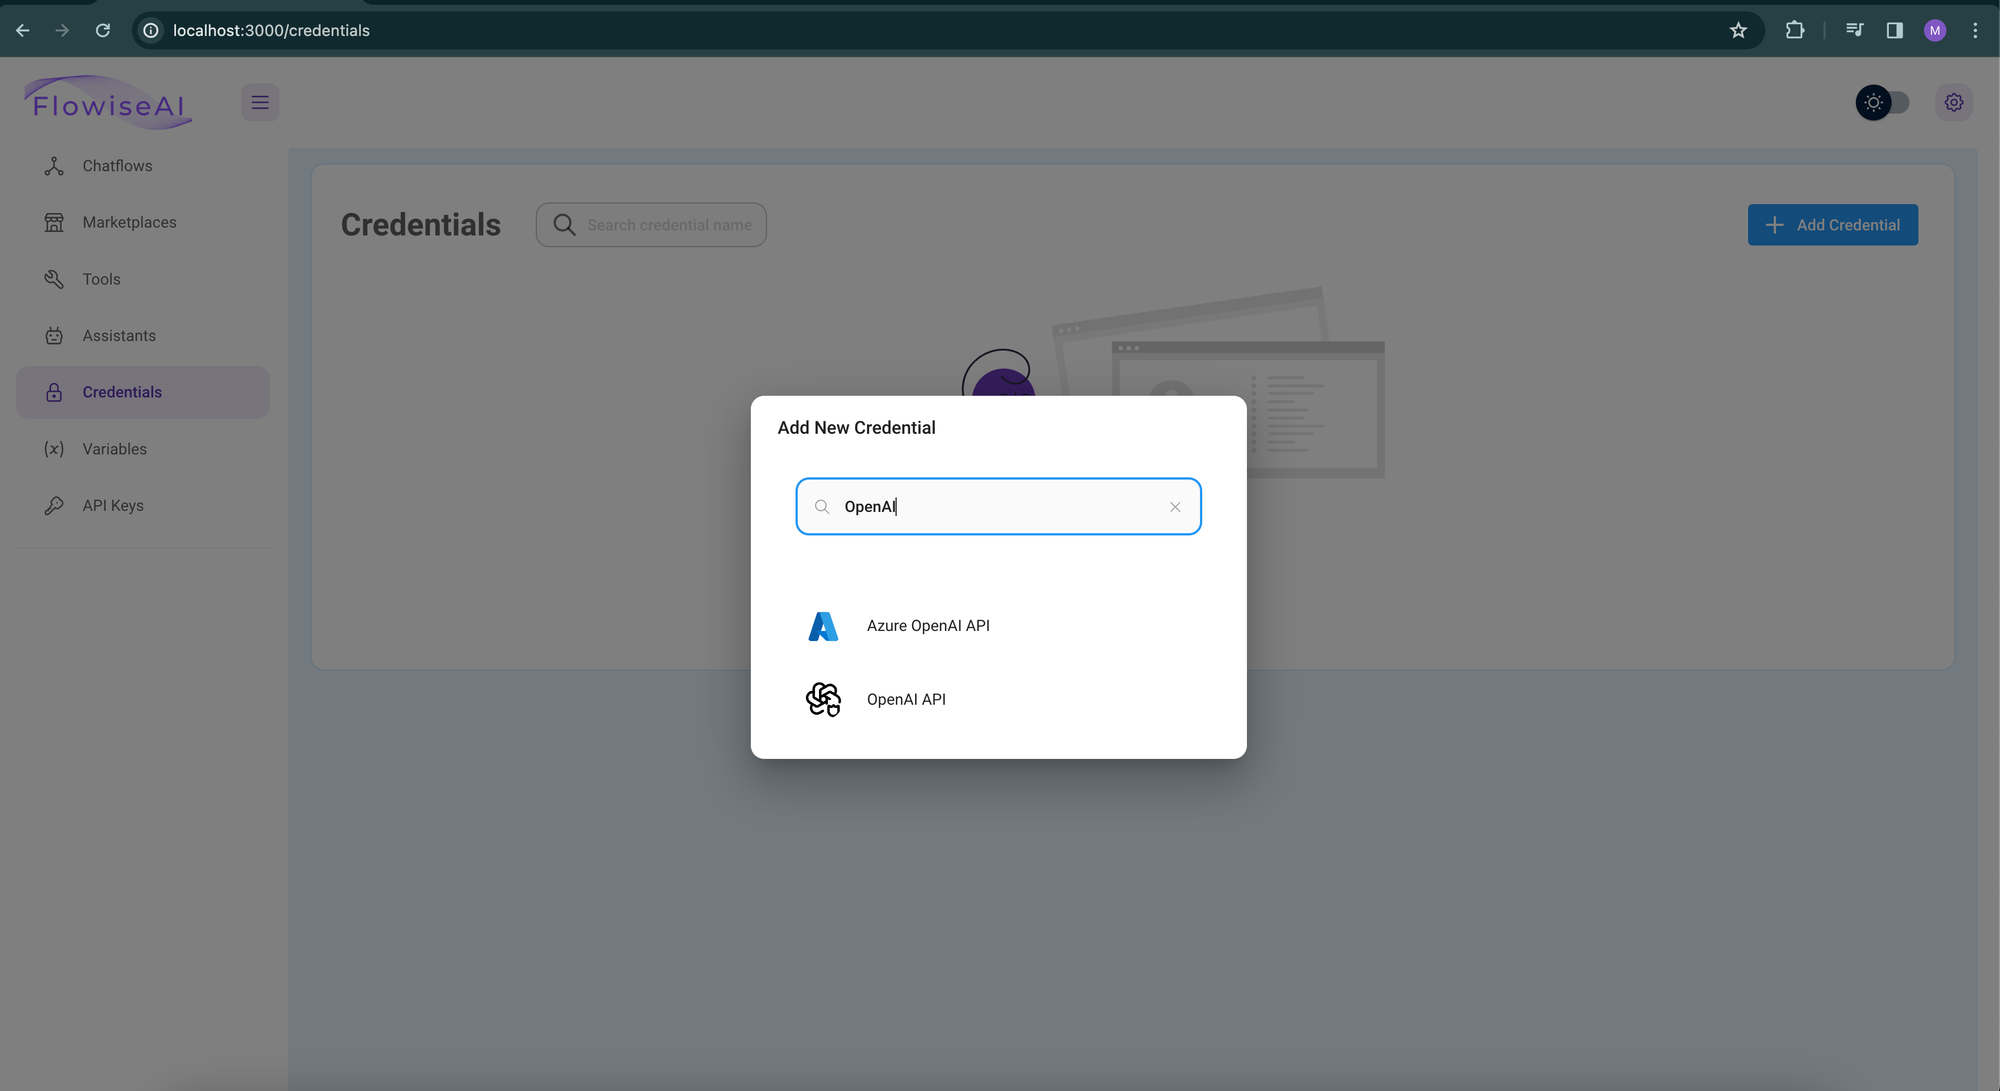
A popup screen will appear in order to enter the API key. give it a name for identification purpose.
Great! Credentials are stored. Now let's create the Assistant. Click on "Assistants" from the menu to go to Assistants screen and click "Add" to add a new Assistant.
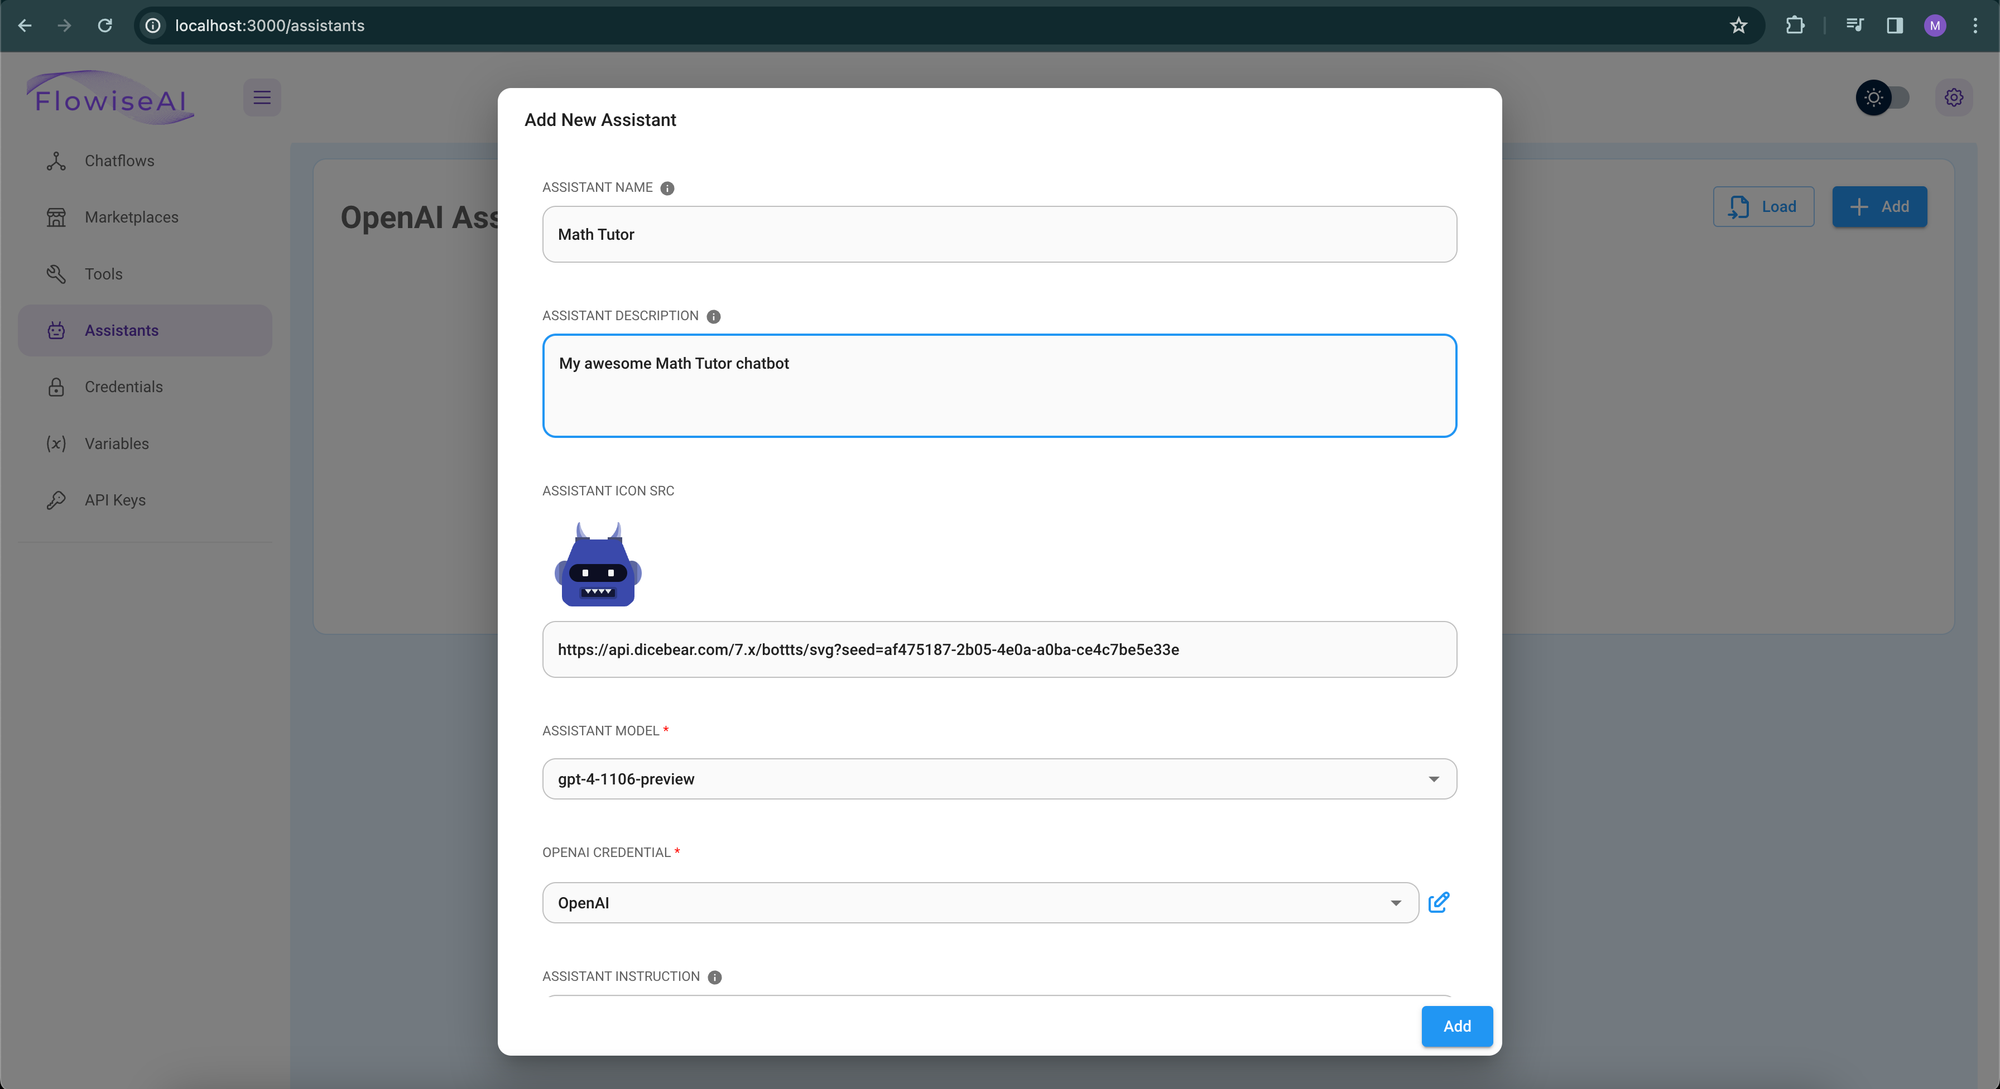
Fill in the information as shown in the screen.
- Name: You can give it any name you want.
- Description: Add some description about what your chat will do.
- Model: Select the model you want to use. (Note OpenAI has different prices for different models.)
- Credentials: Select the credentials that we created in previous step
- Assistant Instructions: This is very important field. You have to enter the instructions for the Assistant. Tell the AI assistant what it will be doing, How it will communicate with users. You can give it a name also.
- File Upload (optional) : You can upload a file containing any information that you want your chatbot to use during the conversation with users.
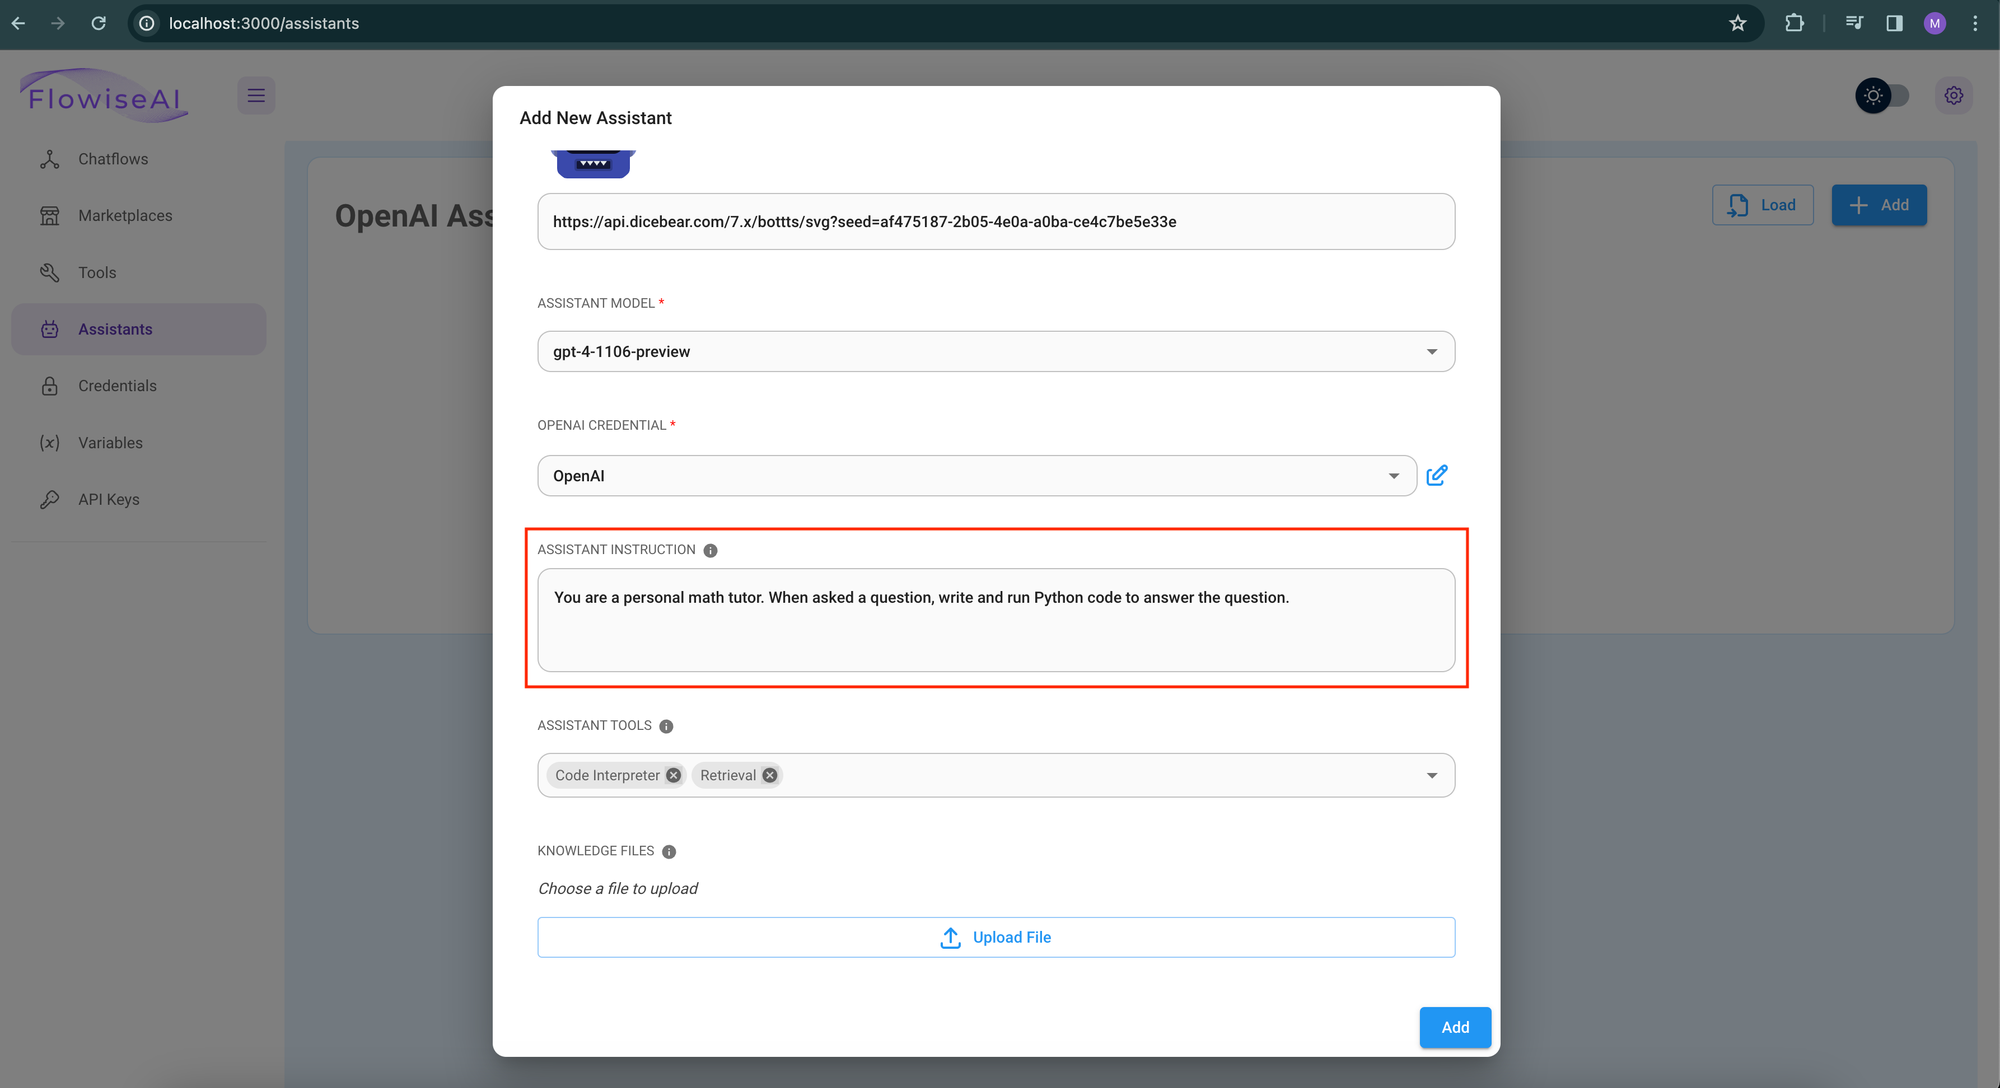
You can learn more about all these fields in OpenAI documentation as well as Flowise documentation. Once filled click "Add" button to create the Assistant.
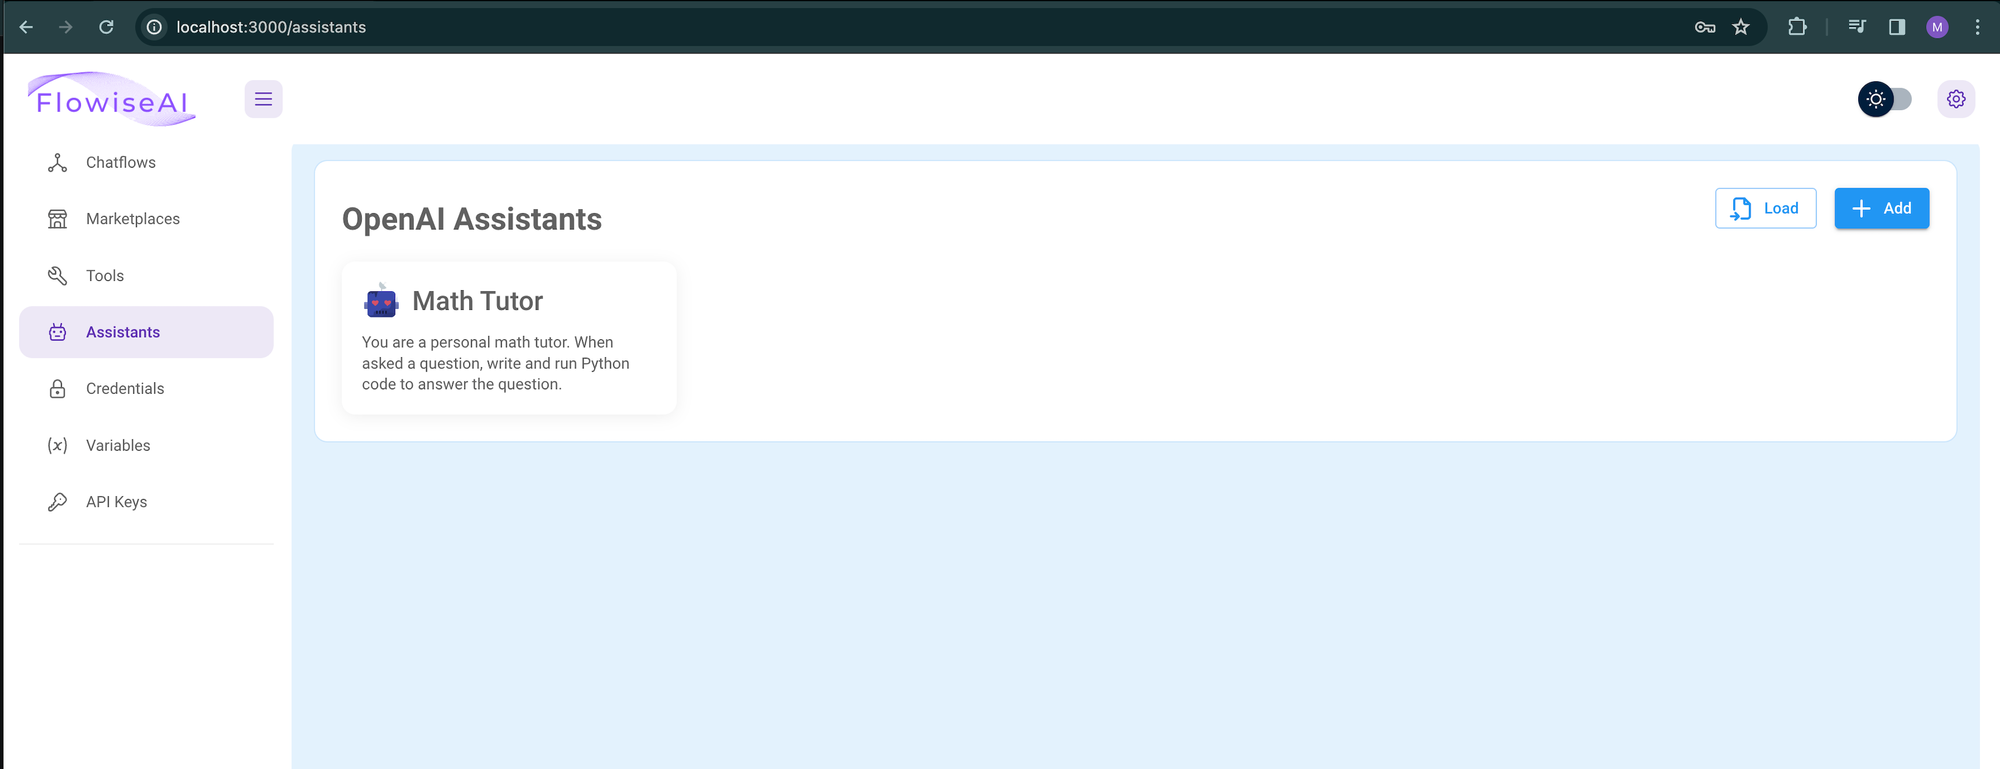
Once Assistant is created. Next step is to create a chatflow. From the left menu click on Chatflows and click on "Add New" button.
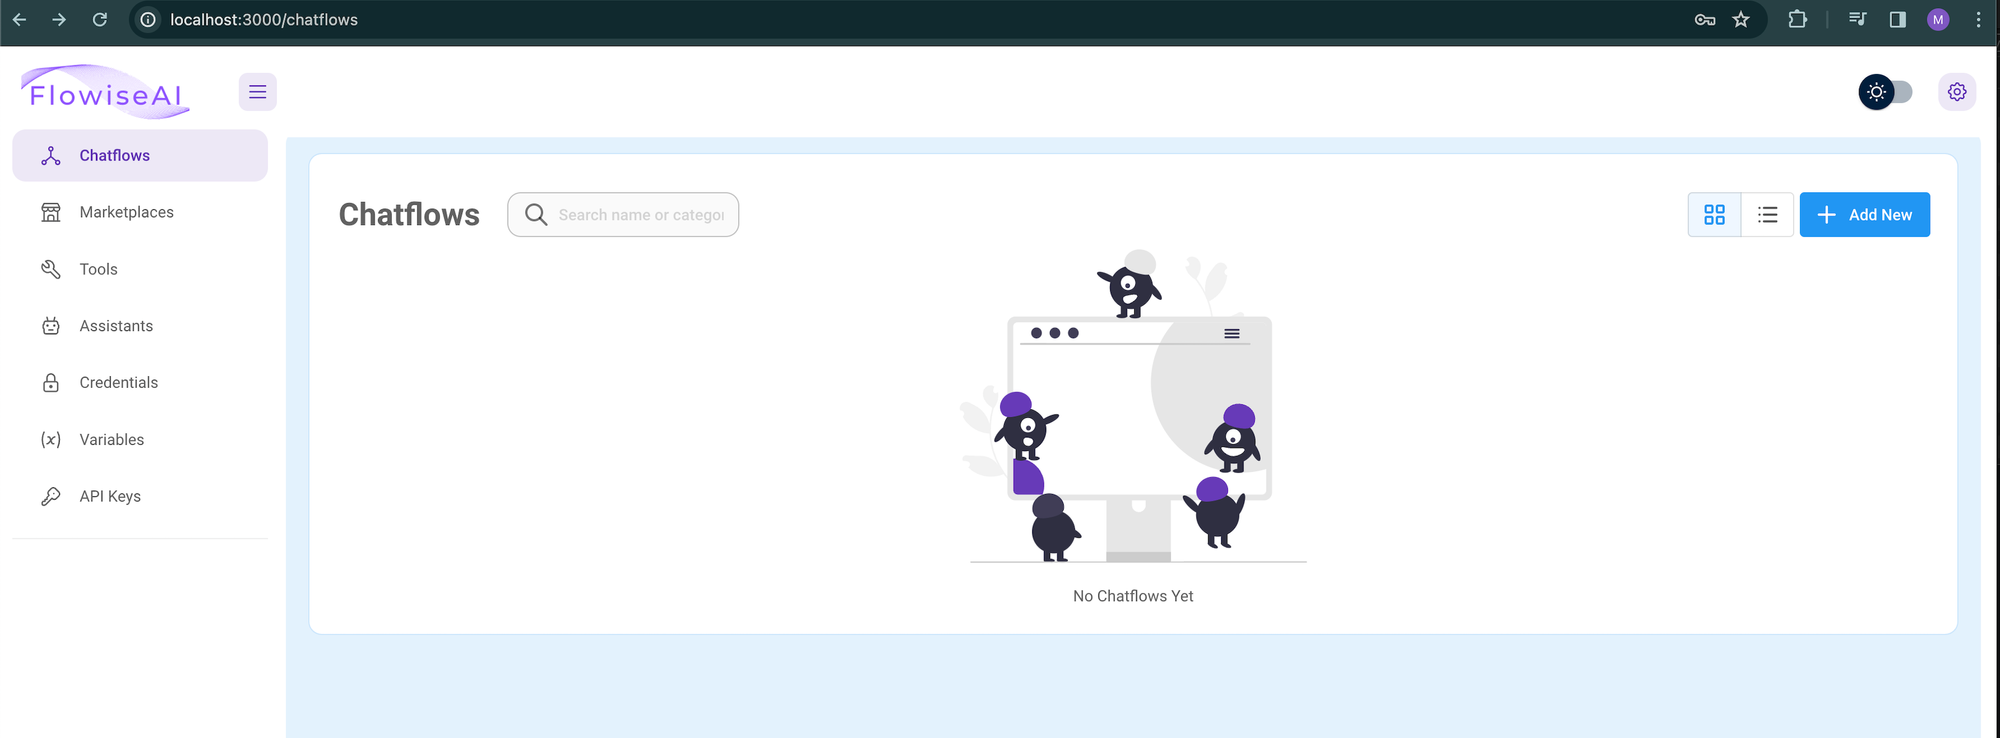
This will open the canvas screen. In order to add a flow to canvas click on "+" sign on left side of the screen which will pop open a dialog like below.
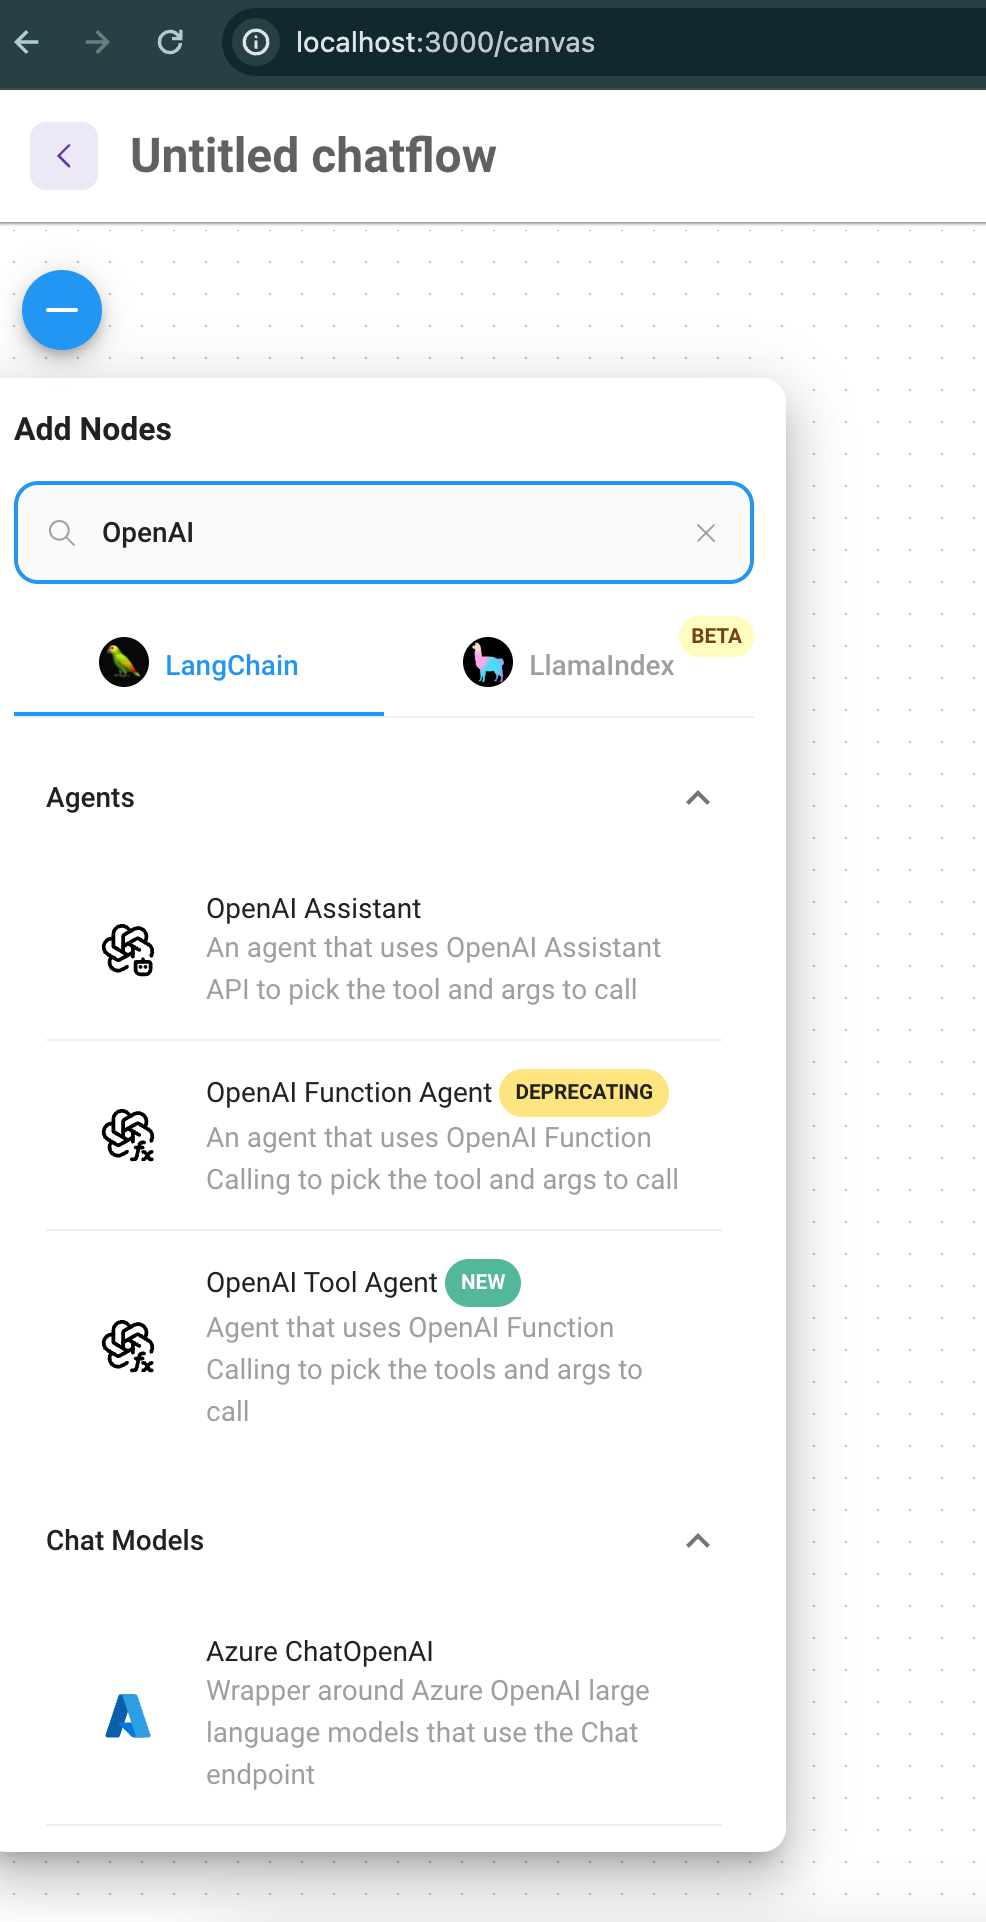
Search for "OpenAI" in search box and click and drag "OpenAI Assistant" on the canvas.
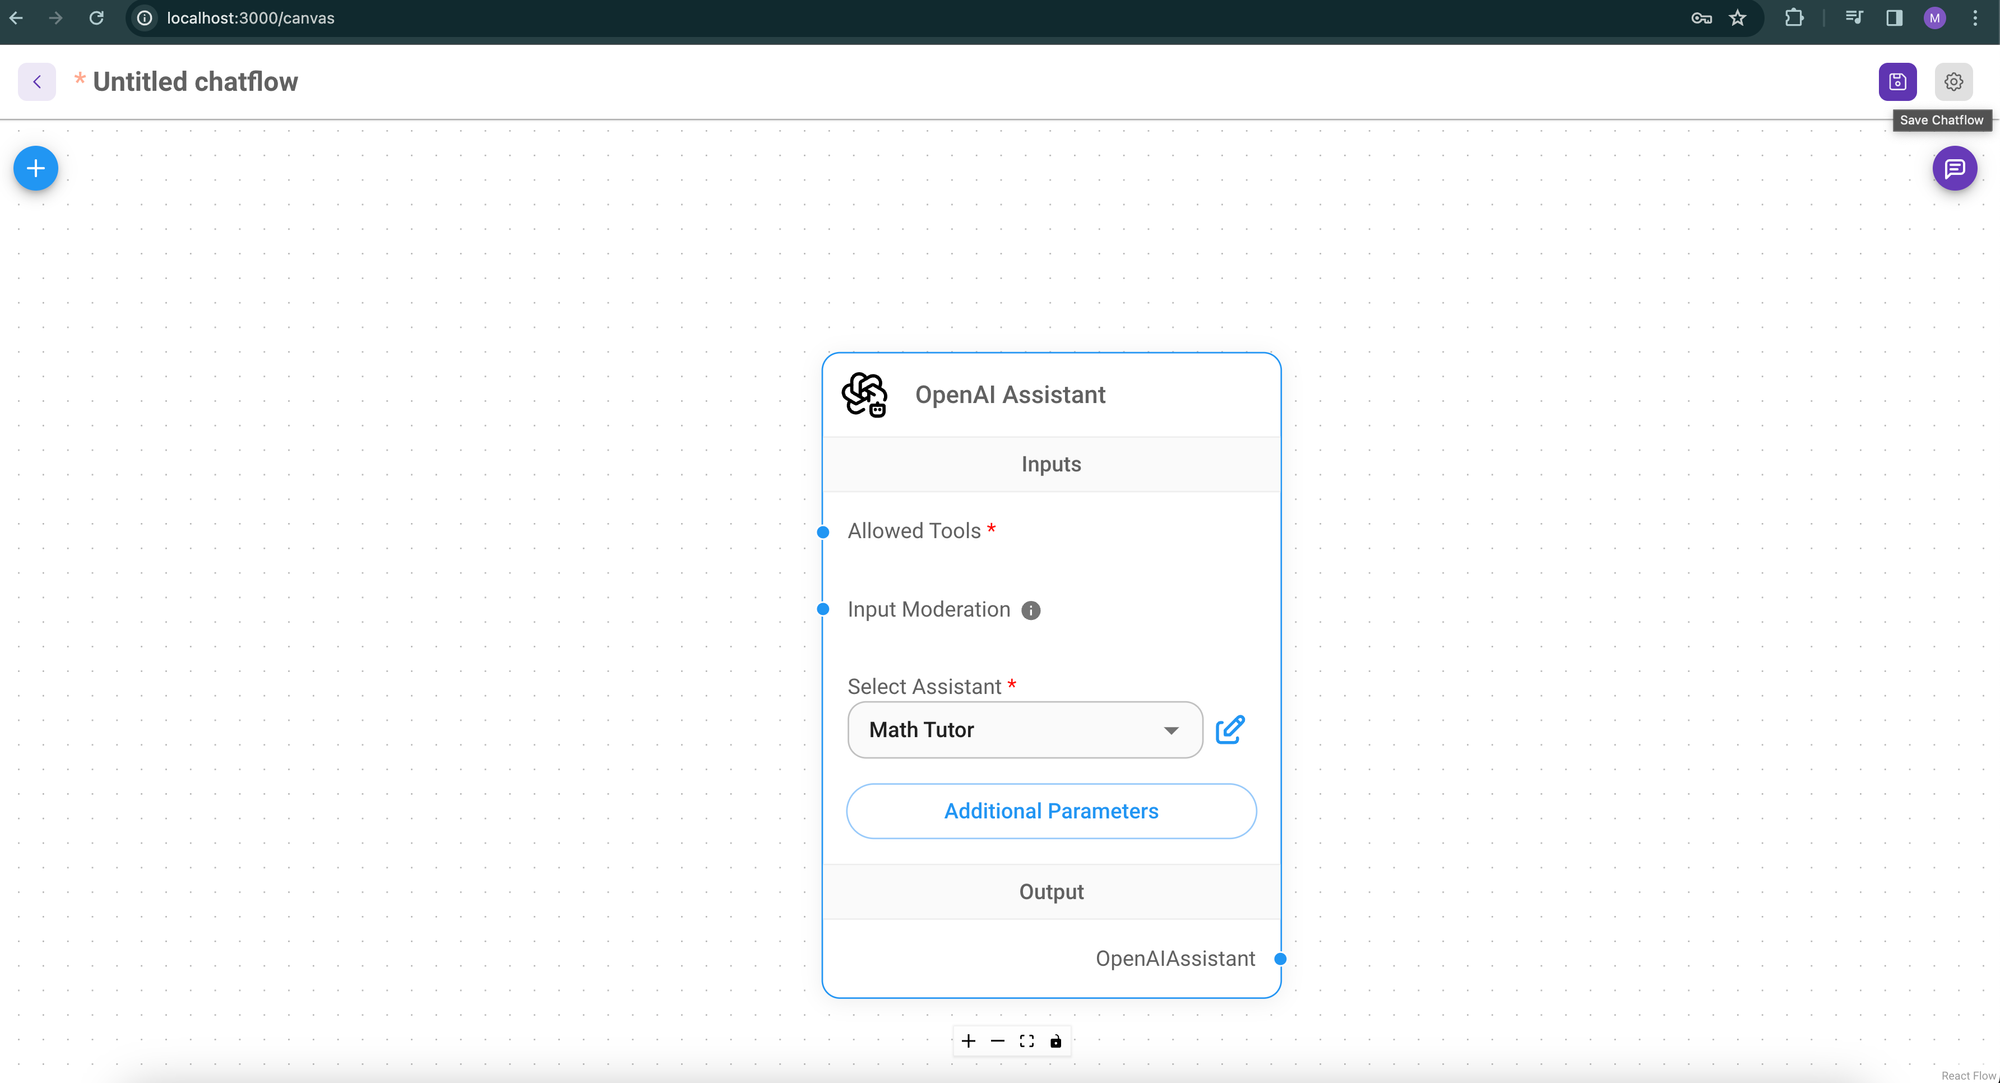
Select the Assistant we created in previous step and click on "Save" icon from top-right corner.
Once saved you can click on the chat icon to interact and test your chatbot. Try asking some questions.
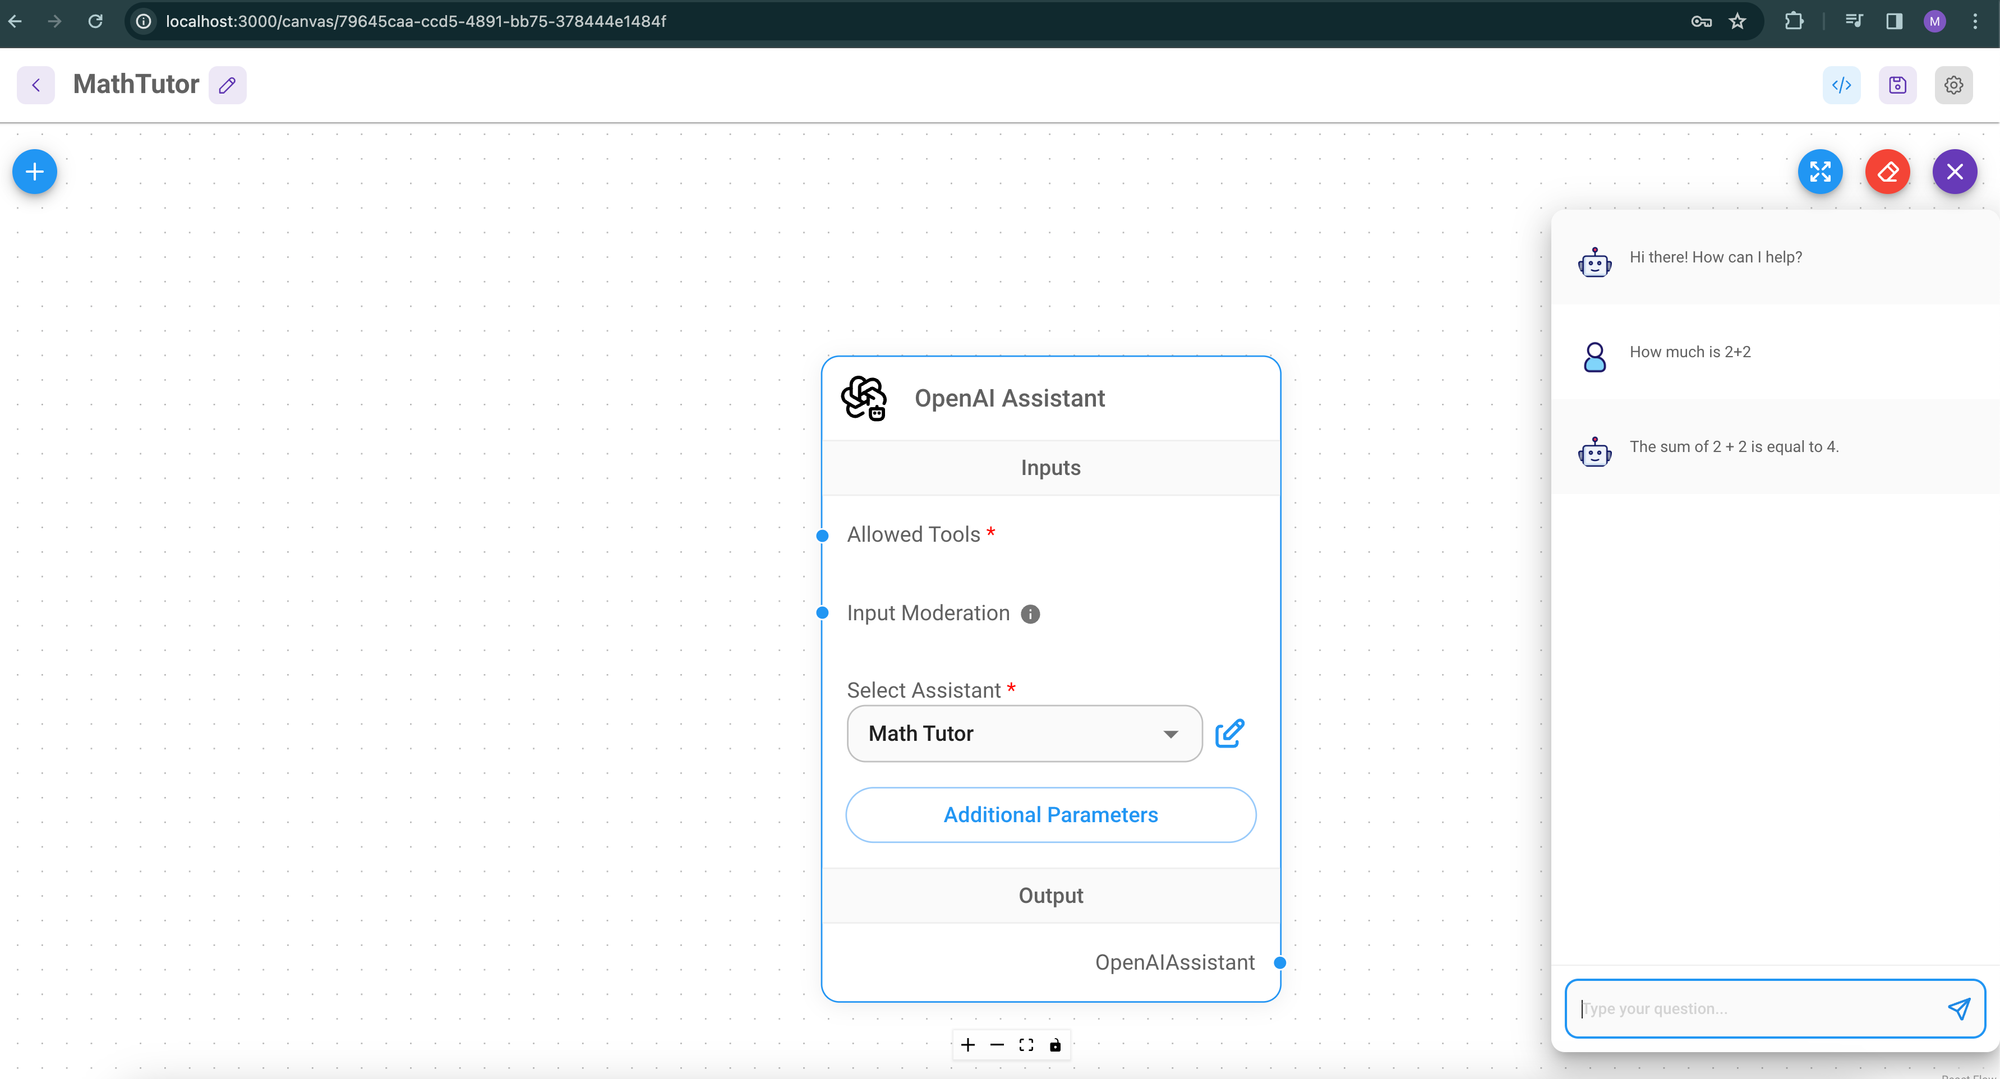
Well! our chatbot is almost ready to use now. As a last step we need to integrate it in our website. You can click on "</>" icon on top-right corner to see the options on how to integrate it.
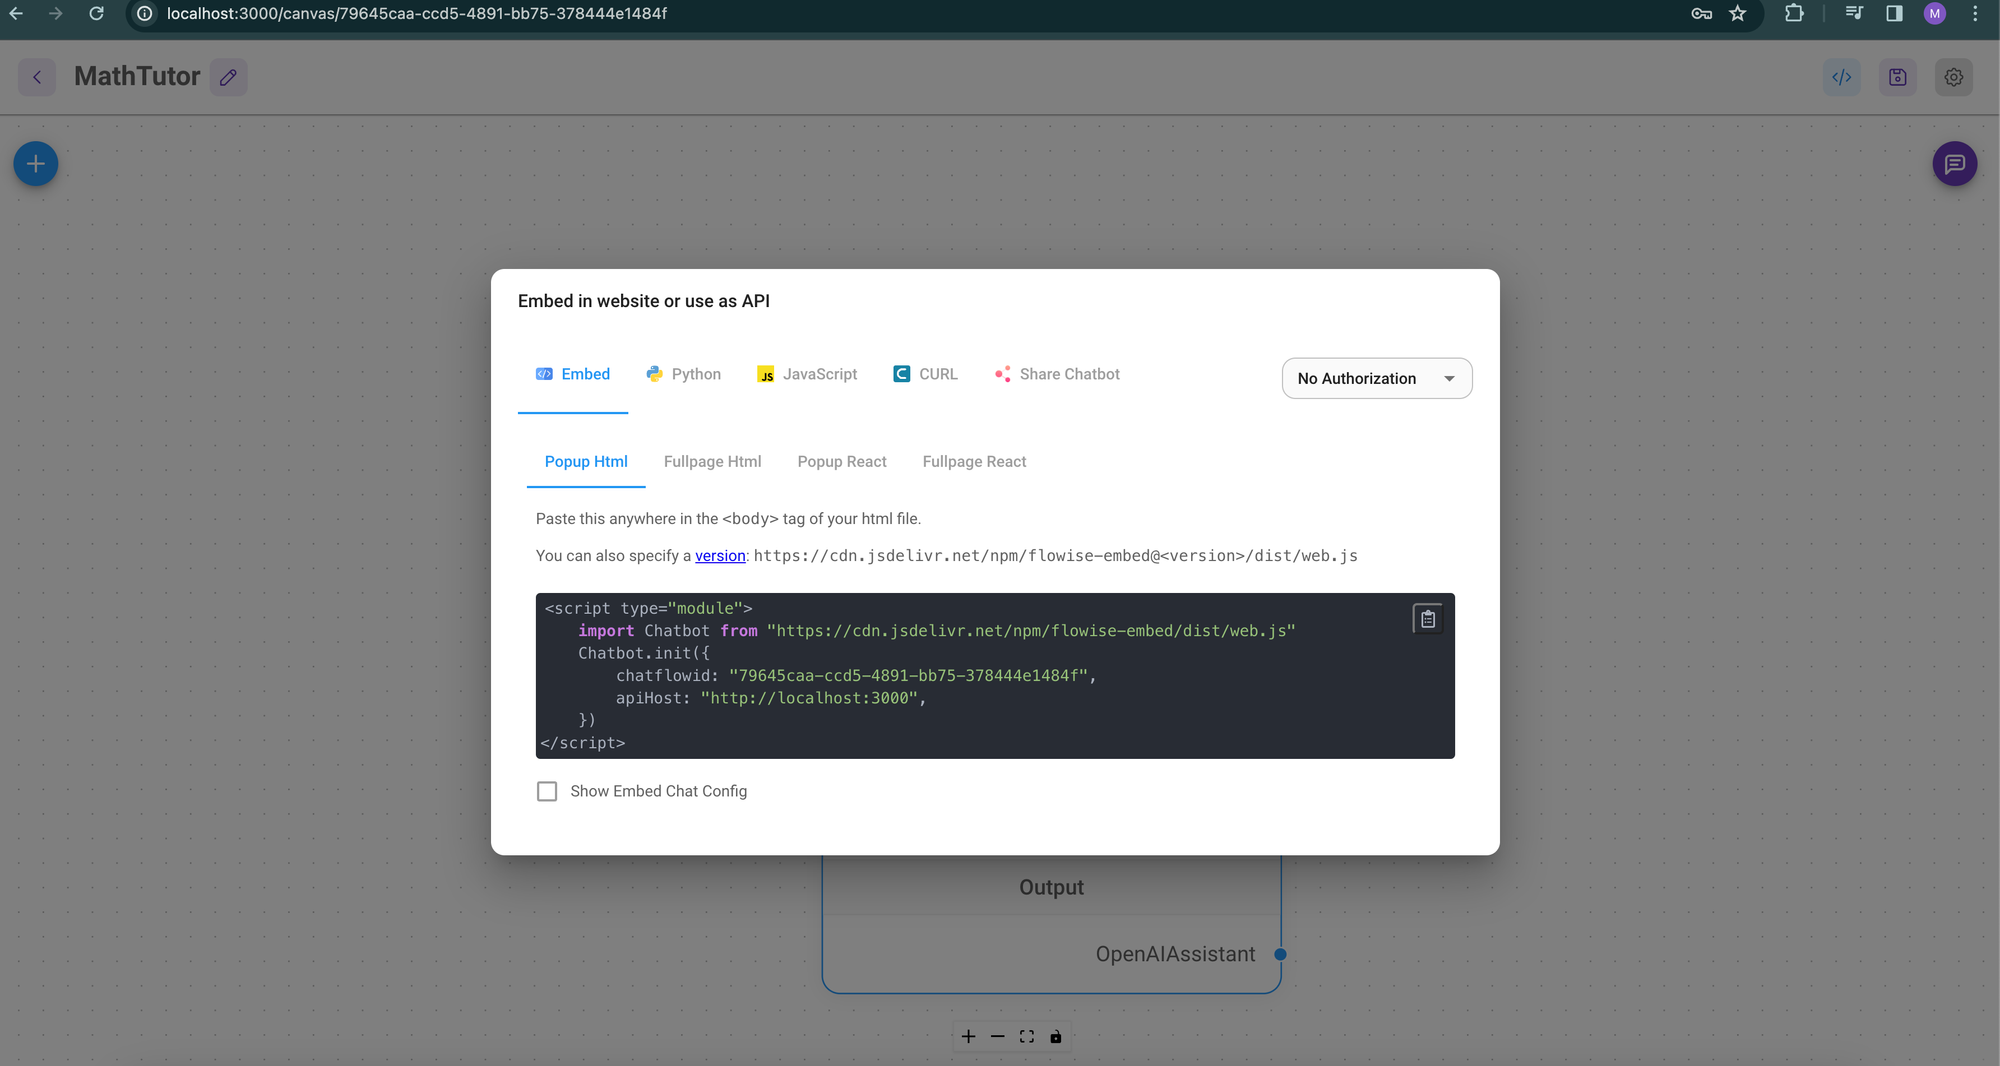
You can copy the embed code and paste it in your website, and the chatbot will start appearing on your website.
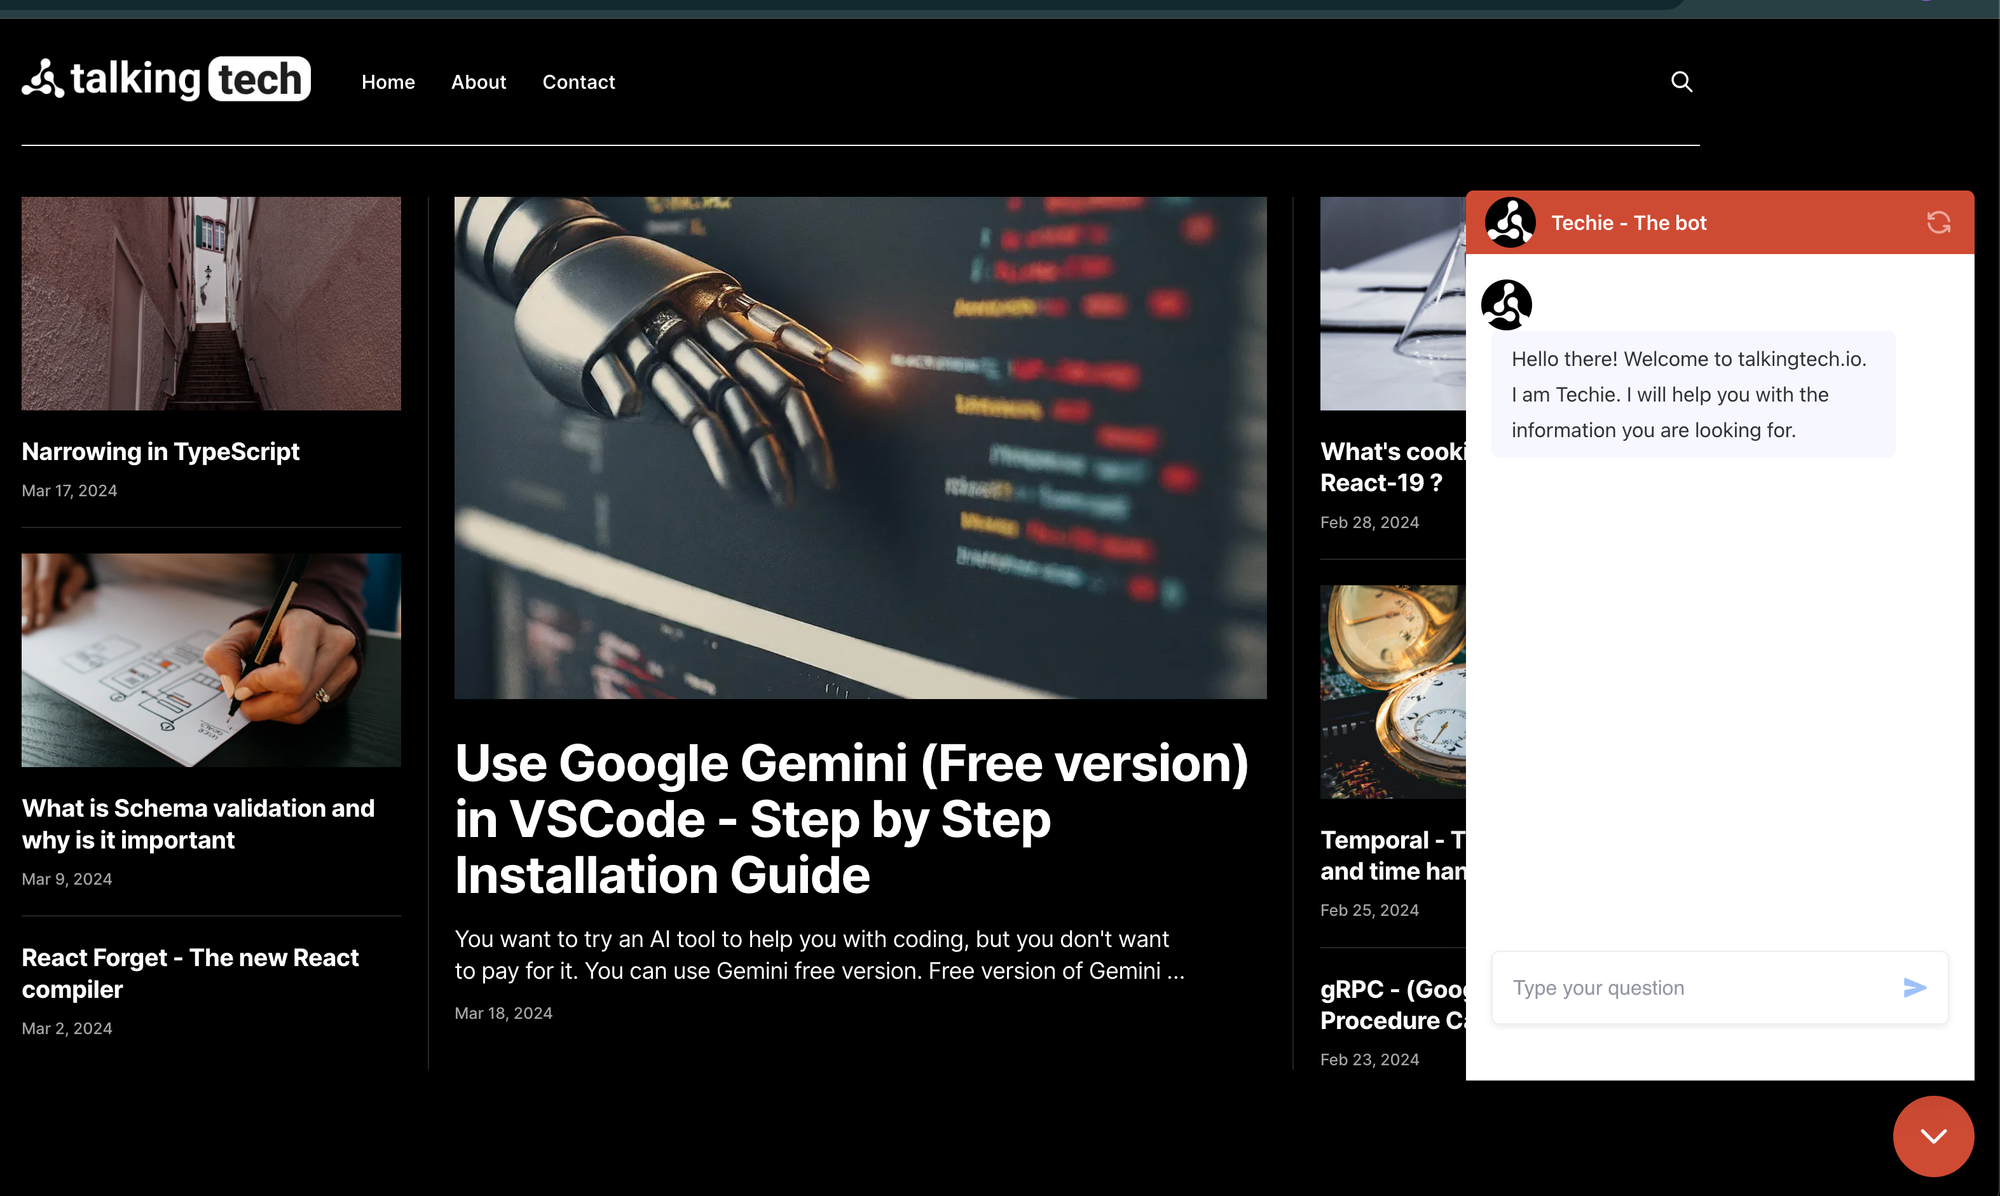
Note that this embed code also gives you some customization options in order to change the look and feel of your chatbot. You can see the list of all the options by clicking here


